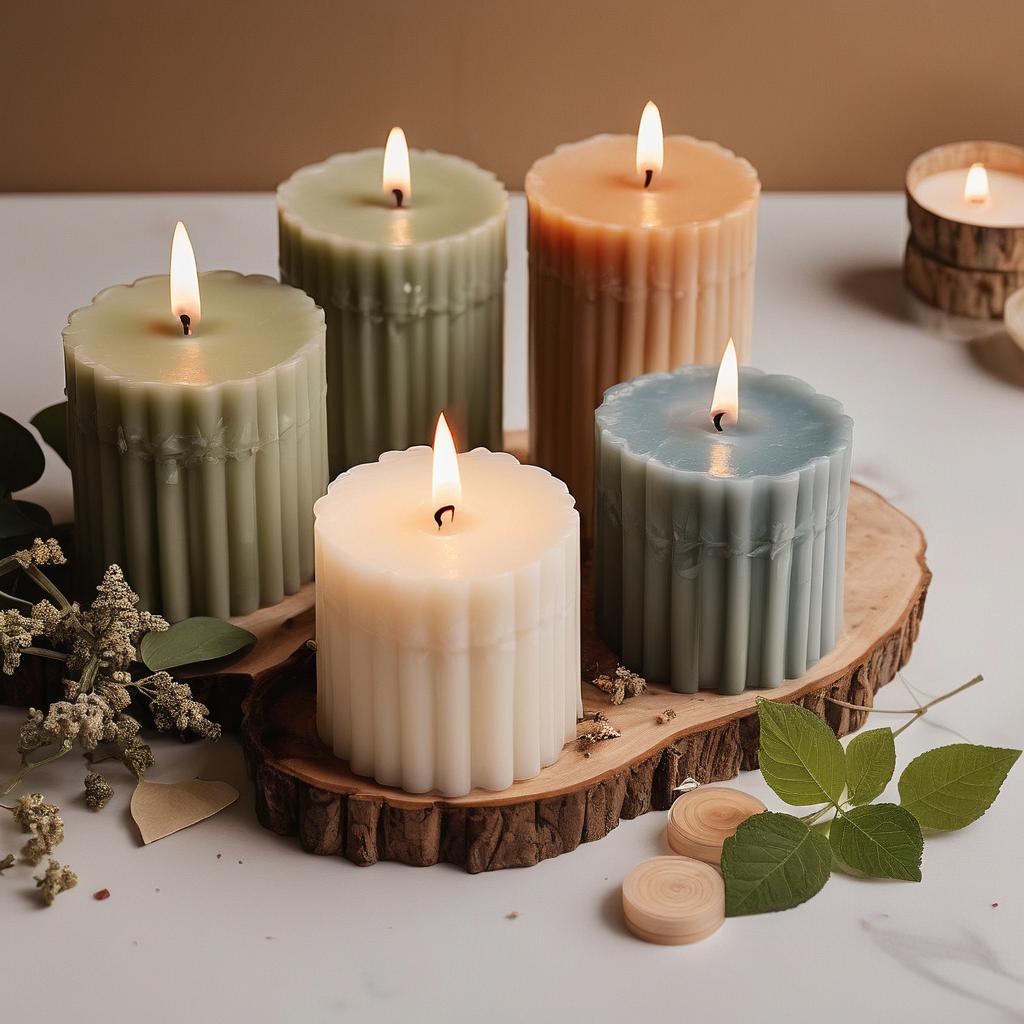
Learn how to create unique and personalized candle molds right in the comfort of your own home with this comprehensive step-by-step guide.
Materials Needed
To make your own custom candle molds at home, you will need the following materials:
– Silicone mold making rubber
– A container for mixing the rubber
– A mold box or a suitable container to hold the mold while it sets
– Candle wick
– Candle wax
– Fragrance or essential oils (optional)
– Candle dye or coloring (optional)
– Heat-resistant container for melting the wax
– Double boiler or a makeshift one using a heat-resistant container and a saucepan
– Thermometer
– Stirring utensil
– Release agent (such as a silicone spray or vegetable oil)
– Mold release (optional, but recommended for easier removal of the finished candle from the mold)
– Work gloves and protective clothing
Preparing the Mold
Before creating your custom candle molds, it’s important to prepare the mold properly. Here’s how:
– Clean and dry the object you want to use as the model for your candle mold. Ensure there are no dust or debris on the surface.
– Apply a thin layer of release agent on the model. This will help in easy removal of the mold once it sets.
– Place the model in the mold box or a suitable container, ensuring it is centered and stable.
– Prepare the mold box or container by lining it with plastic wrap or applying a release agent to prevent the rubber from sticking to the sides.
– If using a two-part silicone mold making rubber, mix the two components according to the instructions provided.
– Pour the mixed silicone rubber into the mold box, covering the model completely. Make sure there are no air bubbles trapped.
– Let the silicone rubber cure according to the instructions. It typically takes a few hours to overnight.
– Once the silicone rubber has cured, remove the mold from the mold box and carefully peel away the plastic wrap or release agent.
– Your mold is now ready for creating custom candles!
Creating the Mold
Now that you have prepared the mold, it’s time to create your custom candle. Follow these steps:
– Place the mold on a flat surface, ensuring it is stable and level.
– Attach a candle wick to the bottom of the mold using a small amount of melted wax or a wick sticker.
– If desired, add fragrance or essential oils to the candle wax for a pleasant scent. You can also add candle dye or coloring for a pop of color.
– Melt the candle wax in a heat-resistant container using a double boiler or a makeshift one.
– Monitor the temperature of the wax using a thermometer. Different waxes have different melting points, so refer to the instructions for your specific wax.
– Once the wax has reached the desired temperature, carefully pour it into the mold, ensuring that the wick remains centered.
– Allow the wax to cool and harden completely before moving or removing it from the mold.
– Once the candle has fully set, gently remove it from the mold. If necessary, use a mold release for easier removal.
– Trim the wick to the desired length and your custom candle is ready to be lit and enjoyed!
Pouring the Wax
The process of pouring the wax into the mold is a crucial step in creating your homemade candle. Here are some tips to ensure a successful pour:
– Make sure the mold is clean and dry before pouring the wax to prevent any unwanted debris or moisture from affecting the final result.
– Use a heat-resistant container and a double boiler setup to melt the wax. This will ensure a safe and controlled melting process.
– Monitor the temperature of the wax using a thermometer. Different waxes have different melting points, so refer to the instructions for your specific wax.
– Pour the wax slowly and steadily into the mold, taking care to keep the wick centered and straight.
– Avoid overfilling the mold, as this can cause the wax to spill over or create an uneven surface.
– Allow the wax to cool and harden completely before moving or removing it from the mold. This may take a few hours or overnight, depending on the size and type of candle.
– Once the candle has fully set, gently remove it from the mold. If necessary, use a mold release for easier removal.
– Trim the wick to the desired length and your homemade candle is ready to be enjoyed!
Finishing Touches
To add some finishing touches to your homemade candle, consider the following ideas:
– Decorate the surface of the candle with dried flowers, herbs, or glitter before the wax fully hardens.
– Use a heat gun or a hairdryer on low heat to smooth out any imperfections or rough edges on the surface of the candle.
– Wrap a ribbon or twine around the base of the candle for a decorative touch.
– Create a personalized label or tag with the scent, name, or occasion for the candle.
– Experiment with different shapes and sizes of molds to create a variety of unique candles.
– Have fun with colors by adding multiple layers of differently colored wax to create a marbled effect.
– Consider using specialty waxes, such as soy wax or beeswax, for a more eco-friendly and natural candle.
– Always remember to follow proper candle safety guidelines when using and burning your homemade candles.